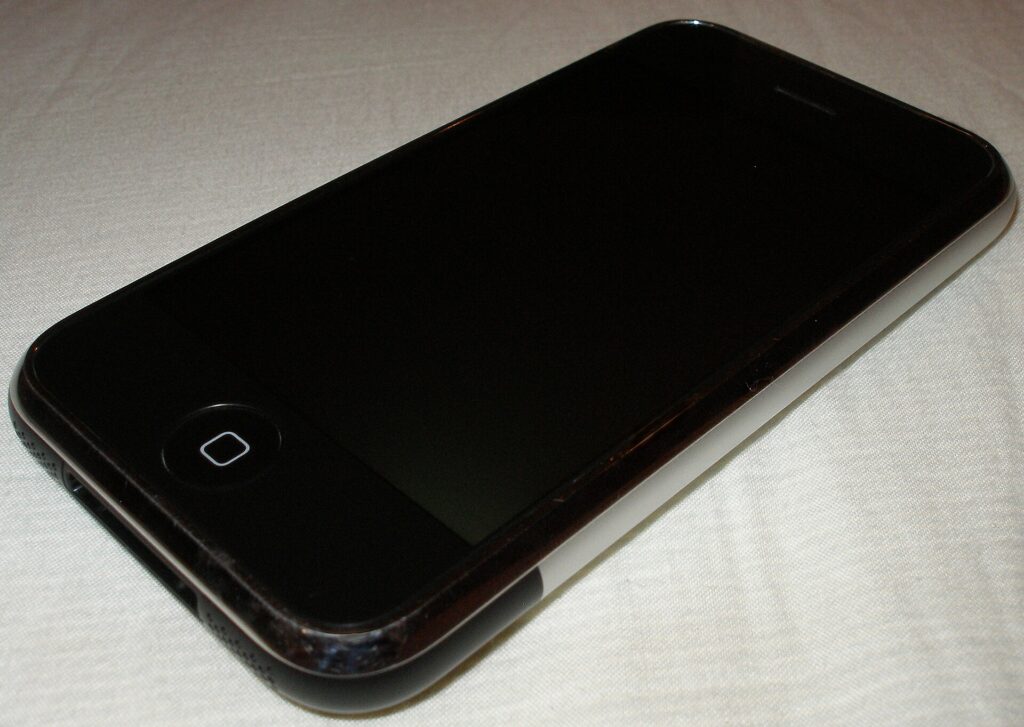
An iPhone backup checklist is one of those things you only care about after a phone is dropped in water, stolen from a bag, or stuck in a boot loop during an update. By then, every skipped backup step feels expensive. A short iPhone backup checklist done once properly can protect your photos, messages, notes, app settings, and the little details you forget matter until they disappear.
Many people assume iCloud has everything covered automatically. Sometimes it does, but only if the phone has enough storage, enough battery, enough Wi-Fi time, and the correct switches enabled. Local backups still matter too, especially if you want a second copy you control.
What your iPhone backup checklist should cover first
Start by checking the basics in Settings. Tap your name, then iCloud, then iCloud Backup. Confirm that backup is turned on and that the last successful backup date is recent. If it has been days or weeks, connect to Wi-Fi and power, then run a manual backup immediately. Do not assume it will happen later.
Next, look at iCloud storage. If backup is failing because the account is full, your phone may quietly stop protecting new photos or app data. Delete obvious junk, move large videos elsewhere, or upgrade storage if the phone holds important family pictures or work files.
Protect the items that hurt most to lose
Photos are usually the biggest emotional loss, so open Photos settings and confirm iCloud Photos is behaving the way you expect. If you keep originals only on the phone, create another copy to a computer or external drive. For messages, check whether Messages in iCloud is enabled if you want conversations to sync and restore more smoothly.
Your authenticator apps deserve special attention. Some two-factor apps back up automatically, others need export steps or recovery codes. Visit the official Apple support guidance for backup and restore expectations, and save recovery codes for important accounts before you upgrade or wipe a device. Also review password storage in iCloud Keychain or your password manager so you are not locked out after restoration.
It is smart to keep a short personal recovery note in a secure place: Apple ID email, trusted phone number, primary password manager, and where your backup copy lives. That simple note reduces panic when something goes wrong.
Use both iCloud and a computer backup when possible
A cloud backup is convenient, but a computer backup gives you another layer. On a Mac, use Finder. On Windows, use the Apple Devices app or iTunes if needed. Connect the phone, select it, and create an encrypted backup if you want health data, saved passwords, and Wi-Fi settings included. Encryption sounds technical, but it is worth it because unencrypted backups leave out some of the details people expect to get back.
If you are about to install a major iOS update, change phones, or troubleshoot a stubborn bug, make both backups first. That way, if iCloud is incomplete or slow, you still have a fresh local copy ready.
Run the checklist before upgrades, repairs, and travel
The best time to use an iPhone backup checklist is before change. Going to a repair shop? Back up first. Flying with your phone as your only camera and boarding pass holder? Back up first. Trading in for a newer model? Back up first and confirm the backup finished, not just started.
You should also test whether you can sign into the accounts that restore your life: Apple ID, email, cloud storage, banking, and your password manager. A backup is only half the story if you cannot get back into the services that make the restored phone useful.
Keep future backups easy, not heroic
Set a repeating monthly reminder to confirm the latest backup date and available iCloud space. It takes less than two minutes. If you shoot lots of video, add a second reminder before holidays or school events when your storage tends to fill quickly.
For more practical device habits, keep a bookmark to Tips & Tricks and build a simple routine: backup, update, test, then travel or upgrade. That order prevents most painful surprises.
A solid iPhone backup checklist is not about being paranoid. It is about respecting how much of your life sits inside one small device. Take ten calm minutes now, and you will thank yourself the first time a screen cracks, a phone vanishes, or an update goes sideways.
For Apple’s official overview of protecting and restoring data, see Apple Support’s backup guide. It is worth comparing their checklist with your own habits once in a while.