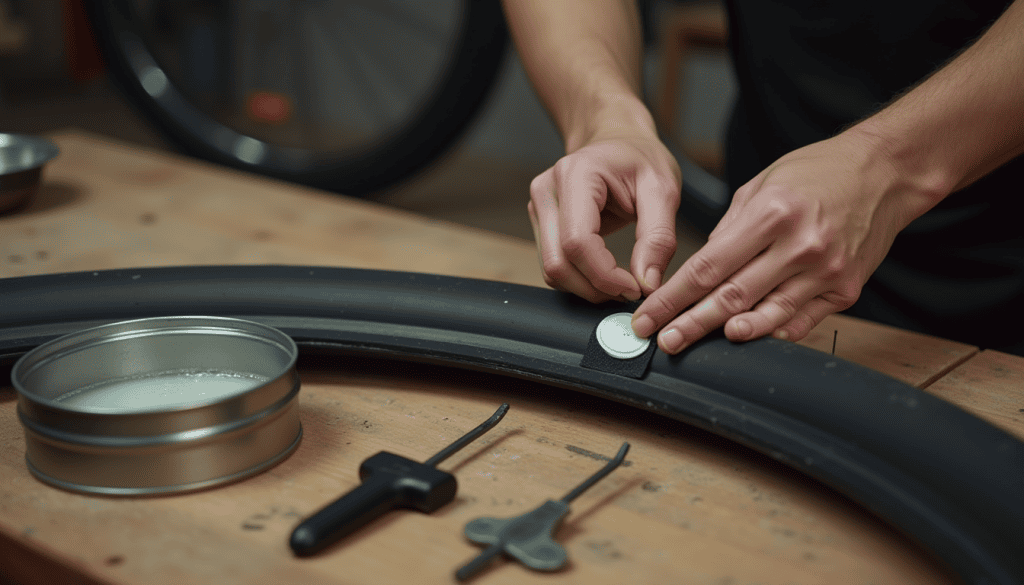
A flat tyre on the way to work usually means a pushed bike and a late arrival. Learning to patch a bicycle puncture fixes that with a kit that fits in a jacket pocket. The harder part is finding what caused the flat, because people who skip that step often get another one the next day.
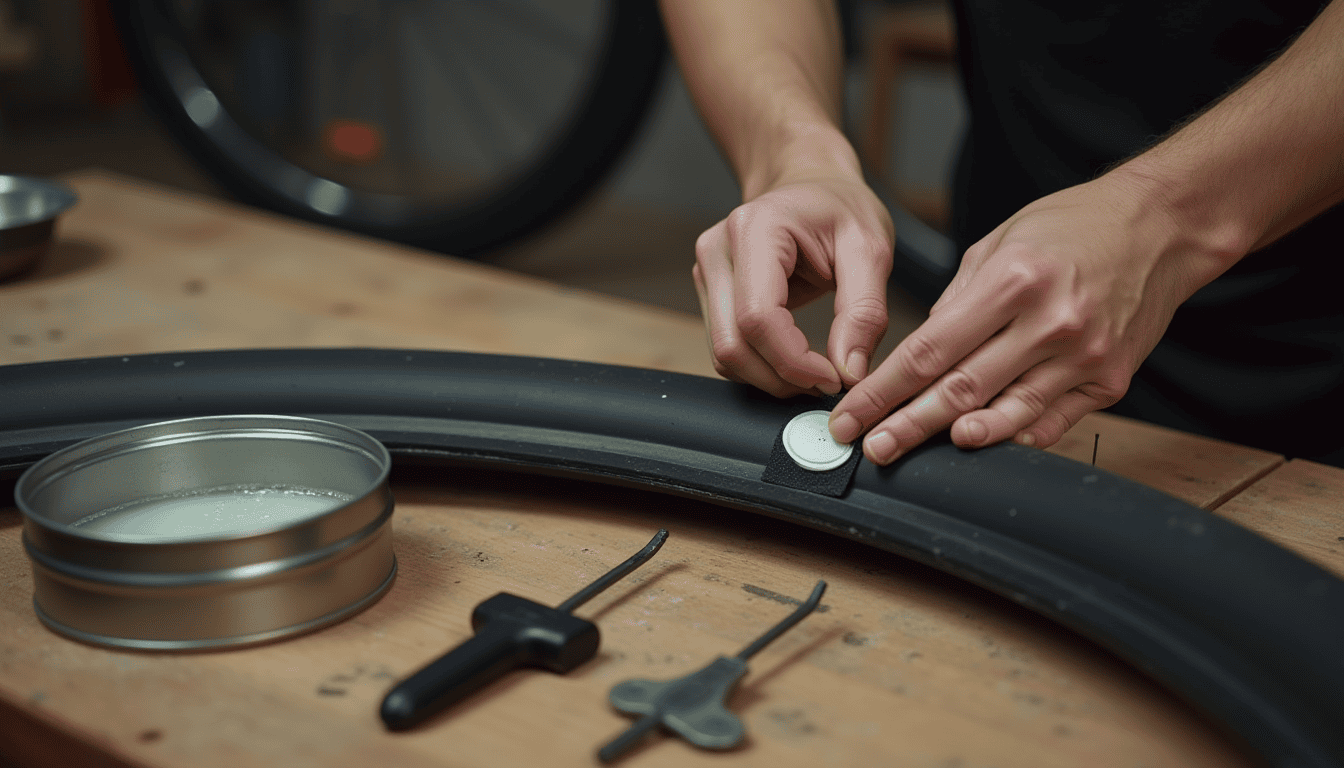
A pocket-sized puncture kit that covers most flats
You do not need a workshop. Everything below fits in an under-seat bag or a large pocket:
- Two tyre levers. Plastic ones are kinder to the rim than a spoon or screwdriver. Metal tools can gouge aluminium and nick the tube you are trying to save.
- A patch kit. Traditional kits contain a tube of rubber solution, a square of sandpaper and several patches. Glue-less kits use self-adhesive patches. Traditional patches generally hold up better over time, and glue-less ones are quicker as a roadside stopgap. Rubber solution dries out once opened, so check it every few months.
- A spare inner tube in the correct size, which is printed on the tyre sidewall and usually on the old tube.
- A small pump that fits your valve. Schrader valves look like car valves. Presta valves are thin, with a tiny locknut at the tip. Dunlop or Woods valves are common on roadster bikes across South Asia. The overview of bicycle tyres on Wikipedia shows the valve types side by side if you are unsure which one you have.
- Chalk or a pen for marking the hole.
A kit only helps if it is on the bike when you need it. Keep it in one fixed spot and restock it straight after use, the same idea behind these small home habits that stop the daily mess.
Swap the tube now or patch it on the spot?
If it is raining, getting dark or you are late, the faster route is to fit the spare tube and take the punctured one home. At a table, in good light, the glue can dry properly and you can find tiny holes more easily. Patching by the roadside makes sense when you have no spare or have already used it.
Cycling short trips instead of driving is one of the simpler ways to save money on gas, but only if a flat does not leave you stranded and paying for a ride. A spare tube costs little and saves a long walk.
How to patch a bicycle puncture, step by step
- Remove the wheel. On a geared bike, shift to the smallest rear sprocket first. Open the brake release if your rim brakes have one, then undo the quick-release lever or axle nuts. Rear wheels on single-speed roadsters with hub brakes take more effort to remove. Many riders leave those wheels on and pull out only the section of tube with the hole.
- Let out the remaining air. Press the pin on a Schrader valve. On a Presta valve, unscrew the tip and press it. On a Dunlop valve, unscrew the collar and lift the valve out.
- Lever one side of the tyre off. Squeeze the bead toward the centre of the rim all the way round to gain slack. Hook a lever under the bead opposite the valve, pull it over the rim and clip the lever to a spoke. Insert the second lever a hand-width along and slide it around the rim. Only one side of the tyre needs to come off.
- Pull the tube out, pushing the valve up through its hole last.
- Find the hole. Pump a little air in and listen for a hiss. Next, pass the tube slowly near your lips, which feel a thin stream of air better than fingers do. If you still cannot find it, dunk the tube a section at a time in a basin of water and watch for a line of bubbles. Dry the tube before going further.
- Mark it with a cross or a circle larger than the patch.
- Roughen the area with sandpaper until the shine is gone, covering a slightly bigger area than the patch. Wipe away the dust.
- Apply a thin, even layer of solution over the sanded area. Wait until it turns dull and feels tacky or dry. This usually takes a few minutes and longer in humid air. Pressing a patch onto wet glue is the most common reason patches peel.
- Press the patch on firmly from the centre outward and hold it for at least a minute. Rolling a tyre lever over it helps. The clear backing film can stay on.
Glue-less patches skip the solution, but they still need sanding, a clean dry surface and hard pressure.
Finding the thorn, glass or nail before you refit
Most people skip this step. Whatever made the hole is often still stuck in the tyre. Lay the tube against the tyre with the valve lined up at the valve hole to see roughly where the puncture sat. Then run your fingertips slowly around the entire inside of the tyre. Go gently, because a glass shard can cut skin. Check the tread from the outside as well, and prise out anything embedded with the tip of a lever.
The hole itself tells you a lot:
- Hole on the outer face points to a thorn, wire, nail or glass.
- Hole on the side facing the rim points to the rim tape. It may have slipped and exposed a spoke hole, or a spoke end may be poking through. Shift the tape back or cover the spot with a few layers of electrical tape until you can replace it.
- Two small parallel slits mean a pinch flat, covered below.
City roads with broken glass, construction sand and metal offcuts are hard on tyres. During the monsoon, runoff pushes that debris toward the road edge, which is exactly where bicycles ride. A wet tyre also tends to pick up sharp bits more readily, so check your tread more often in the rainy months.
Refitting the tyre and setting the right pressure
Put just enough air in the tube to give it shape. Fit the valve first, then tuck the tube evenly into the tyre. Starting at the valve, push the bead back over the rim with your thumbs, working in both directions and finishing opposite the valve. Avoid using levers for this if you can, because they easily trap the tube under the bead. Push the valve up into the tyre and pull it back down so the tube is not caught there.
Inflate partially, then check the thin moulded line on the sidewall. It should sit an even distance above the rim all the way round, on both sides. If it dips anywhere, let the air out and massage the tyre into place. Only then pump to full pressure, within the range printed on the sidewall.
Low pressure causes pinch flats. When a soft tyre hits a pothole or kerb, it squashes down and traps the tube between the rim and the obstacle. That leaves the two “snakebite” slits mentioned above. Tubes lose air slowly even without a hole, so check the pressure every week or two.
When the tyre is the problem, not the tube
Patches fix tubes, not tyres. Replace the tyre if you see any of these:
- A cut through the casing that you can see light through, or that the tube bulges out of.
- Fabric threads showing through worn tread.
- A bulge or wobble when you spin the wheel.
- Deep cracks in the sidewall.
A folded piece of thick packaging placed inside a cut tyre can get you home, but it is not a repair. It is the same judgement as with a cracked phone screen: repair or replace. A small, contained fault can be fixed, but once the structure underneath is damaged, a patch only buys time. A tube carrying several patches is still usable, though once new patches would overlap old ones, a fresh tube is the cheaper choice.