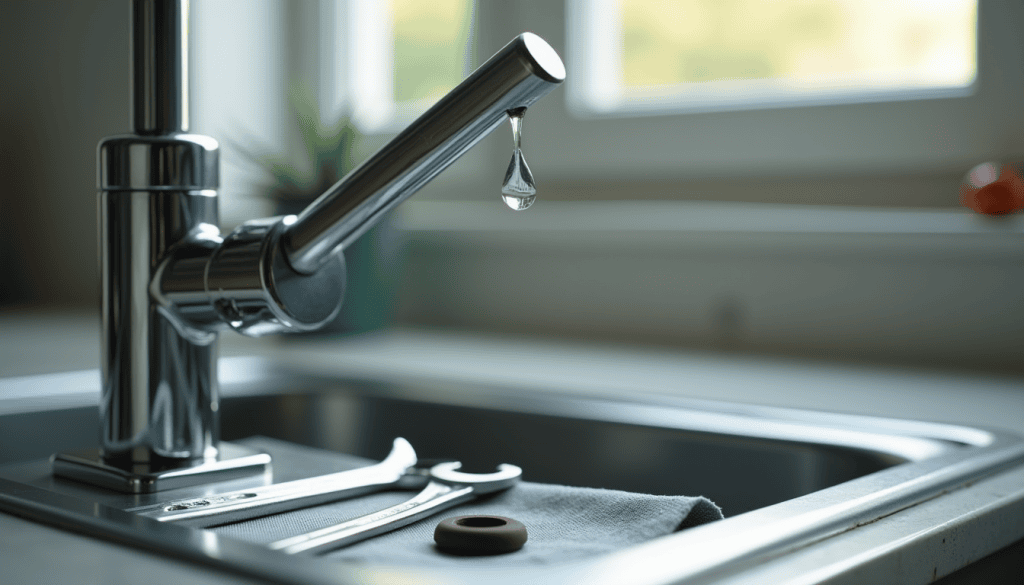
A tap that drips once every few seconds sounds harmless, but it wastes water around the clock, leaves a white or green streak down the basin, and gets worse as the worn part breaks down. You can usually fix a dripping tap yourself with a spanner, a screwdriver and a part that costs very little.
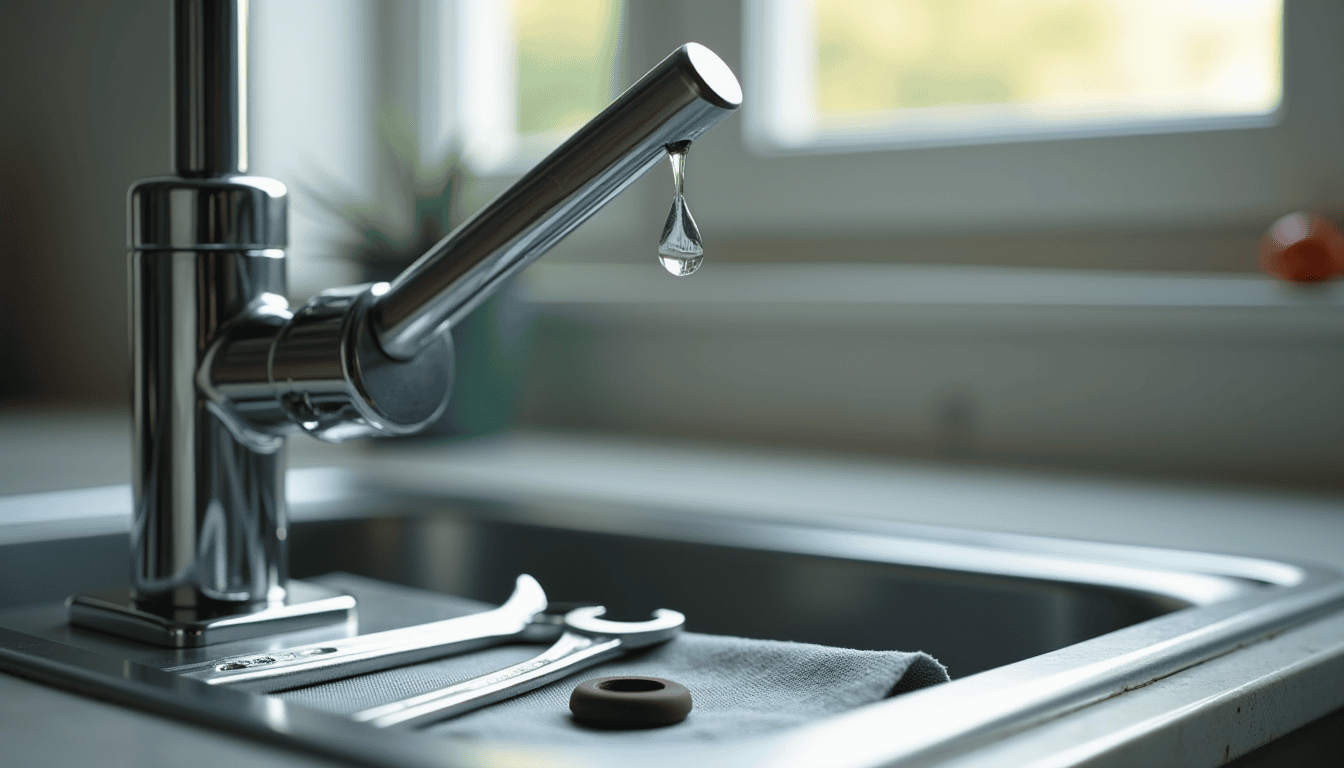
Why a slow drip is worth an afternoon
A single drop looks trivial, but a tap that leaks day and night adds up to a surprising volume over a month. The US Environmental Protection Agency runs an annual Fix a Leak Week campaign for this reason: household leaks are among the easiest sources of waste to stop. Where water is metered, you pay for every drop. Where it comes from a tank filled by an electric pump, which is common in South Asian apartment blocks and houses, a leak also means the motor runs more often.
There are other costs. Hard water leaves limescale and mineral stains on ceramic basins that become harder to scrub off the longer they build. A worn washer or cracked cartridge also rarely stays the same; the drip tends to speed up until the tap will not close properly. Fixing it early fits naturally alongside other easy habits that save water at home.
Shutting off the water before you start
Never open a tap body with the supply live. Look under the sink for a small isolation valve on the pipe feeding the tap, often a little handle or a slot you turn with a flat screwdriver. If there is none, close the main stopcock for the house or flat, or the valve on the outlet of the rooftop tank.
Then open the tap fully and let it run until it stops. This releases the pressure trapped in the pipe so water does not spray when you loosen anything. Two more small precautions save a lot of frustration:
- Plug the drain with the basin stopper or a rag, so tiny screws and washers cannot disappear down the pipe.
- Lay a towel in the basin to cushion a dropped spanner. Ceramic chips easily.
Rubber washer or ceramic cartridge: which tap do you have?
Domestic taps mostly fall into two designs, and the fix depends on which one you have.
Compression taps with a rubber washer are the older style. You turn the handle several full rotations to go from off to fully on, and you often feel it tighten gradually as you close it. Inside, a stem pushes a rubber washer down onto a brass seat. When the washer hardens, splits or wears, water seeps past. In many South Asian homes, the common brass bib taps and pillar taps are this type, and replacement washers and spindles are sold cheaply at almost any local hardware shop.
Ceramic cartridge taps go from off to fully on in a quarter or half turn, or use a single lever. Inside, two ceramic discs slide over each other. A drip usually means a chipped disc, grit trapped between the discs, or a perished rubber seal at the bottom of the cartridge. These parts are not repaired; the whole cartridge is swapped.
How to fix a dripping tap, step by step
Models vary, but most single taps come apart in roughly this order. Take a phone photo at every stage so you can reverse the process confidently.
- Remove the cap. Many handles have a small decorative cap, often marked hot or cold, that prises off with a thin flat blade. Some unscrew instead.
- Undo the screw underneath and lift the handle off. If it is stuck, wiggle it gently rather than levering against the basin.
- Loosen the bonnet or headgear nut with an adjustable spanner. Wrap a cloth around chrome parts first so the jaws do not scratch the finish, and hold the tap body steady with your other hand so the force does not twist it against the basin.
- Lift out the stem or cartridge. On a compression tap, the washer sits at the bottom of the stem, held by a small nut or simply pressed on. On a cartridge tap, the whole unit pulls out.
Now take the old part to the hardware shop. Washers come in several diameters and thicknesses, and cartridges differ in length, body diameter and the number of splines (the small teeth on top where the handle grips). Matching it in person is far more reliable than guessing from a catalogue. Buying the O-rings on the stem at the same time is sensible, since they cost little and are often worn too.
Cleaning limescale and putting it back together
Before fitting the new part, look at the brass seat inside the tap body, where the washer presses down. Chalky white deposits or a rough surface will chew up a new washer quickly. Soak a cloth in white vinegar, hold it against the seat for a while, then scrub gently with an old toothbrush. Do the same for any crusted threads. Avoid metal scrapers; a scratched seat leaks too.
Reassemble in reverse order, checking your photos. Tighten the bonnet firmly but stop once it seats, because overtightening can crack a ceramic cartridge or distort the threads. Leave the tap slightly open, then turn the isolation valve back on slowly so air and water come through gently. Close the tap and watch the spout and the base for a few minutes, and check under the sink for drips at the valve.
When to stop and call a plumber
A tap repair should not involve heavy force. Put the tools down and call someone if:
- The bonnet nut is corroded and will not turn, especially if the tap body starts moving with it.
- Water leaks from the base of the spout or around where the tap meets the basin, which points to different seals or a cracked body.
- You are facing a mixer or thermostatic tap with parts you do not recognise and no manual.
- You see a cracked pipe, a bulging flexible hose, rust stains on the wall, or damp in the cabinet.
A plumber’s visit costs more than a washer, but less than a cracked basin or a burst connector. Small repairs like this sit comfortably beside other ways to lower your monthly bills, and the same patient, careful approach works for jobs like weatherproofing your doors.