Buffering videos and dead zones in the back bedroom don’t always mean you need a new router. Often you can improve home Wi-Fi with free changes you can make in the next twenty minutes. Let’s start with the fixes that give the biggest boost.
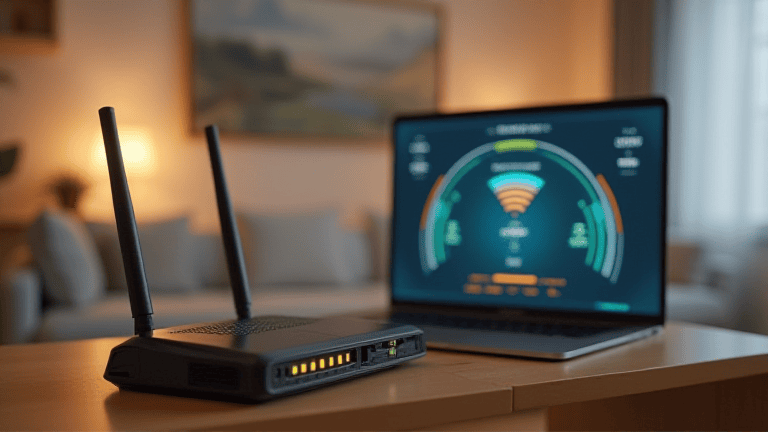
Signal problems usually come down to placement, interference, and outdated settings. Here’s how to tackle each.
Place the router where it can actually work
Routers belong out in the open, not in a cabinet or behind the TV. Radio signals weaken through walls, metal, and water, so a central, elevated spot beats a corner on the floor every time.
Keep it away from microwaves, cordless phones, and baby monitors, which share or crowd the same frequencies. Even a fish tank between the router and your couch can sap signal, since water absorbs it.
If your antennas move, point one vertically and one horizontally. Devices receive best when their antennas line up with the router’s, and mixing orientations covers more of them.
Height matters more than people expect. A router on a high shelf broadcasts down and out across a room, while one tucked under a desk fires half its signal into the floor. If your home has multiple stories, put the router on the upper floor or near the ceiling of the lower one, since signal spreads downward more easily than up.
Pick the right band and channel
Modern routers broadcast on 2.4 GHz and 5 GHz. Use 5 GHz for devices near the router, it’s faster, and save 2.4 GHz for range, since it travels farther through walls. Many routers let you name them separately so you can choose deliberately.
Congested channels cause slowdowns in apartments. Log into your router’s admin page and switch the 2.4 GHz band to channel 1, 6, or 11, whichever is least crowded. It’s a two-minute change that can clear up stutter instantly.
If your router supports it, enabling band steering lets it automatically move each device to the best frequency, so you don’t have to manage two network names. On newer routers, look for a 6 GHz option (Wi-Fi 6E) as well, it’s less crowded than the older bands, though only recent phones and laptops can use it. Quality-of-service settings are another quiet win: prioritize video calls or gaming so a big download in another room stops ruining your meeting.
Update, secure, and extend
Outdated firmware is slower and less safe. Check your router’s admin panel for updates, or enable automatic ones if offered. While you’re there, lock things down, an open or weakly secured network invites freeloaders who eat your bandwidth. Our guide to securing your home router covers the exact settings.
Still have a dead zone? A mesh system or a single Wi-Fi extender can fill it far more cheaply than rewiring your house. Place the extender halfway between the router and the weak spot, not inside the dead zone itself.
More ways to improve home Wi-Fi room by room
Coverage problems are often local, not whole-house. Walk around with a speed-test app and note where the signal drops, then treat each weak spot on its own. A closed door, a thick brick wall, or a floor between you and the router can each cut speed dramatically.
Older devices can hold everyone back, too. A single gadget stuck on an ancient Wi-Fi standard may force the router to slow down for the whole network. If a device is years old and rarely used, connecting it by cable or retiring it can lift performance for everything else.
Test your changes the smart way
Run a speed test in the same spot before and after each change so you know what actually helped. If your whole connection feels sluggish, the bottleneck might be your computer rather than the network, our fixes for a slow Windows PC can rule that out.
For deeper reading, CISA explains how to secure your internet-connected devices, and How-To Geek has a thorough guide to a stronger signal.
Try these in order and you’ll likely improve home Wi-Fi enough that a costly upgrade becomes unnecessary. For more practical home-tech fixes, visit Tips & Tricks.