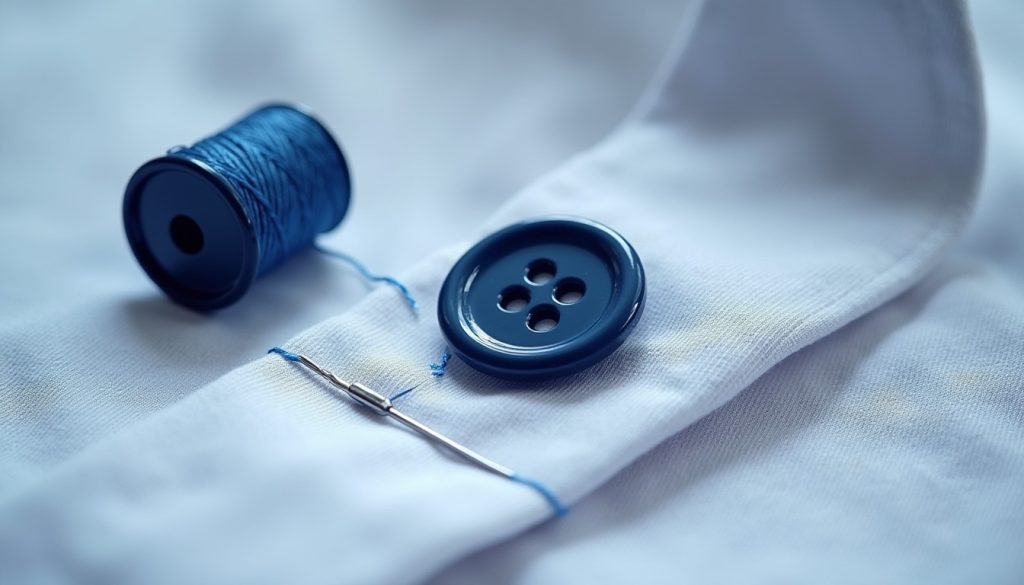
A shirt can be perfectly wearable except for one button dangling from a few tired stitches. Put it aside long enough and the button disappears, turning a small repair into a search for a matching replacement. Learning to sew a shirt button is useful because the supplies fit in a tiny envelope and the result is easy to check before you wear the shirt again.
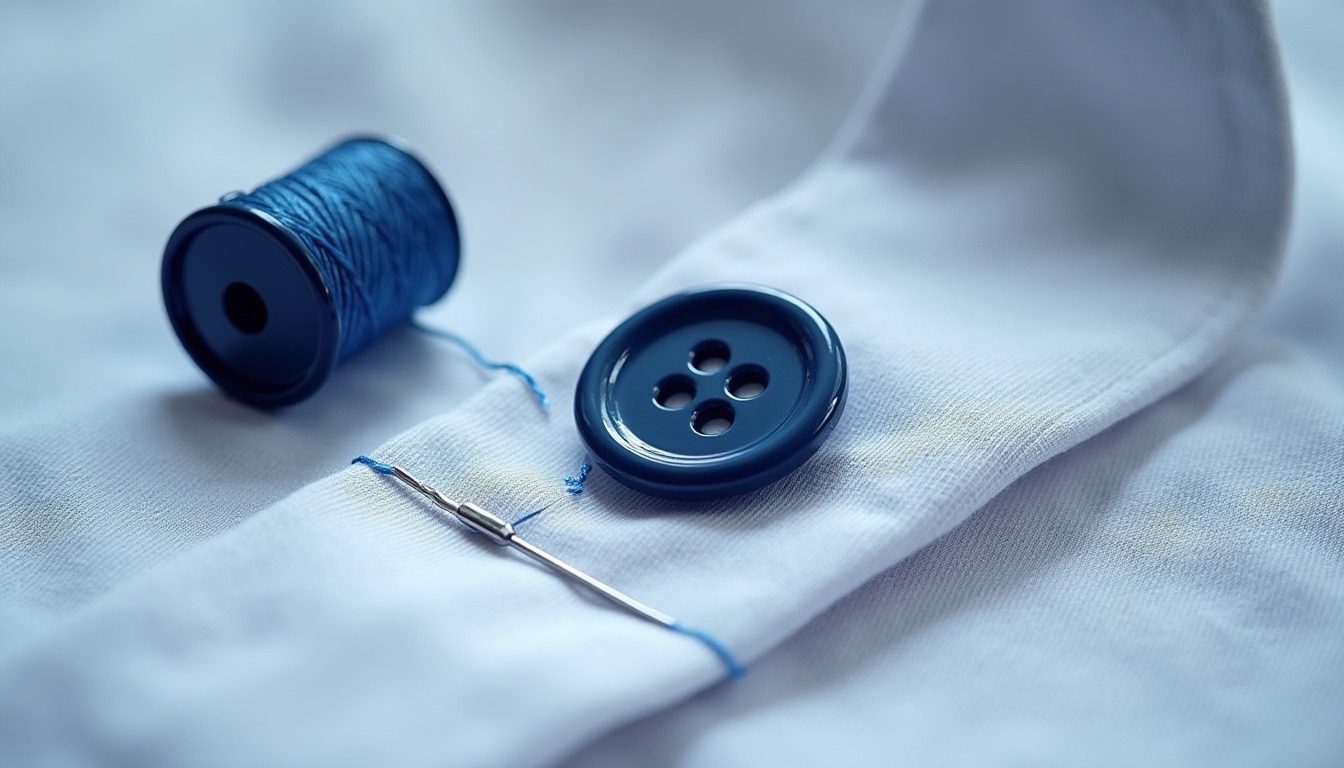
Gather the button, then check the fabric beneath it
Use a hand-sewing needle that fits through the button’s holes, ordinary sewing thread, small scissors and a thimble if you have one. Work at a clear table in good light. Keep a shallow dish for the button and a safe place for the needle, especially if children or pets can reach your workspace. Never hold a spare needle between your lips.
Look at the back of the shirt before pulling away the old thread. If the fabric has torn, stitching the button onto the same weakened spot will not solve the underlying problem. A tailor may need to reinforce it first. This method is for an ordinary flat, four-hole shirt button on sound woven fabric, not a stud, snap fastener or specialist waterproof garment. For garments intended for children aged three or under, follow Patagonia’s advice to use professional repair rather than this small-parts DIY method.
If the button is missing, check the garment’s spare-button tab or inside seam. A replacement should pass through the buttonhole without forcing it and sit like its neighbours. Diameter alone is not enough: a very thick replacement can be awkward even when it looks the right size.
Mark where to sew a shirt button
Lay the shirt flat and align its front edges naturally. Use the old stitch holes as a guide if they are intact. Otherwise, line up the corresponding buttonhole and mark the intended centre with a removable fabric marker. Do not pull the shirt tight to make the edges meet; that can hide an alignment problem until you put it on.
Thread the needle with a manageable length and secure the end. A long length may seem convenient but gives you more thread to tangle. Trim away loose remnants of the old stitching carefully, keeping the scissors away from the shirt itself. If the garment has a delicate finish or expensive lining, practise on a scrap first rather than learning on the visible front.
For illustrated needle movements, the Patagonia and iFixit four-hole button guide is a useful companion. This article is an explanatory guide, not a claim that the pictured shirt underwent a hands-on repair.
Build secure stitches without clamping the button flat
Bring the needle up from the back of the fabric at the marked position and through one button hole. Pass it down through a second hole and the fabric beneath. Repeat to form a neat set of stitches, then secure the other pair of holes. Match the parallel or crossed arrangement of neighbouring buttons if you want the repair to blend in.
Leave a little breathing room between the button and fabric so the buttonhole layer can slide underneath. Pulling every stitch as tight as possible can make a shirt difficult to fasten. Keep checking that the button has not wandered away from the mark while you work. Small, controlled stitches are easier to inspect than a dense knot of thread.
Before finishing, bring the needle out between the button and the fabric. Wrap the working thread around the stitches beneath the button to form a short thread shank, then secure the thread on the back and trim the tail. The exact clearance depends on the garment thickness; a thin shirt should not acquire the tall shank intended for a heavy coat.
Try the closure before putting the needle away
Button the shirt while it lies flat, then try it on. The repaired closure should meet its buttonhole without dragging the front into a diagonal wrinkle. A button that fastens only when you stretch the fabric probably needs its placement corrected. If it is difficult to push through, check the button size and the clearance under it before blaming the buttonhole.
Give the button a gentle check from several directions. Loose loops, an unraveling knot or visible strain in the fabric mean the repair is not finished. Remove unsuccessful stitches patiently and redo them; piling another layer on top can create a bulky repair without addressing the cause.
Keep the remaining thread with your spare buttons in a labelled envelope. If you are building a practical clothing-care kit, our guides to washing sneakers without damaging them and choosing appropriate cold-water laundry cover other ways to keep useful items in service. Put the needle back in its case before clearing the table.