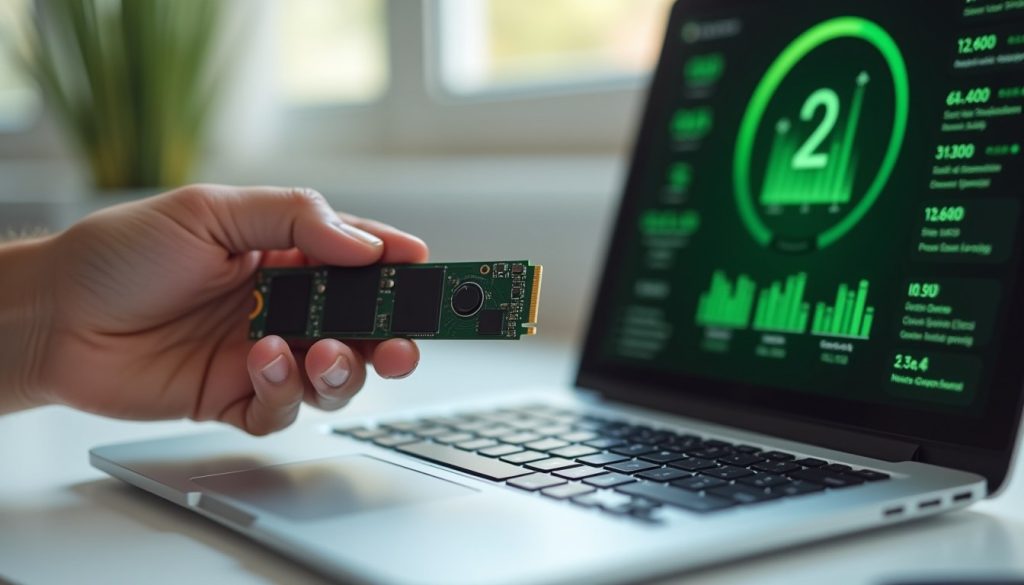
A drive rarely announces it is dying, but most keep a private logbook of their own wear and errors. Learning to check SSD health takes about five minutes on Windows, Mac or Linux, and it can tell you whether that laptop is fine for now or whether you should copy your photos off tonight.

What the SMART numbers on your drive actually mean
That logbook is called SMART (Self-Monitoring, Analysis and Reporting Technology). Almost every modern SATA and NVMe drive keeps one, though names and layouts vary between manufacturers. You can ignore most of it. These are the values worth reading:
- Percentage used (or wear level): how much of the maker’s rated write endurance has been consumed. A new drive shows 0%. Reaching 100% means the drive has hit its rated endurance, not that it stops working that day, and the number can go past 100. Some SATA SSDs show the reverse, as “life remaining”.
- Available spare: reserve memory the SSD uses to replace worn-out cells. It starts at 100% and is listed alongside a threshold. A spare figure falling toward that threshold is a serious sign.
- Reallocated sectors: on hard drives and many SATA SSDs, the count of bad areas swapped out for spares. A small number that never changes is often tolerable. A number that climbs week after week is not. “Pending” and “uncorrectable” sector counts belong in the same category.
- Media and data integrity errors: on NVMe drives, errors the drive could not fix. This should be zero. Any increase means some data was damaged or nearly was.
- Power-on hours: how long the drive has been running. Useful context, especially when buying a second-hand laptop sold as “barely used”.
- Temperature: SSDs slow themselves down when hot. In a room without air conditioning during summer, a thin laptop can run its drive close to the rated limit (check your model’s specification; many consumer NVMe drives are rated around 70 °C). Constant heat does not help a drive’s lifespan.
How to check SSD health on Windows
Older guides suggest typing wmic diskdrive get status. It usually reports “OK” until a drive is almost dead, and the wmic tool is deprecated and missing by default on recent Windows 11 builds. Better options:
- Windows 11 Settings: in the Storage section under System, the advanced storage settings list your disks. Opening the properties of an NVMe drive shows estimated remaining life, available spare and temperature.
- PowerShell (run as administrator): Get-PhysicalDisk | Get-StorageReliabilityCounter | Select-Object DeviceId, Wear, Temperature, ReadErrorsUncorrected, PowerOnHours. Some fields stay blank depending on the drive and driver, so treat empty values as “not reported” rather than “fine”.
- CrystalDiskInfo: free, and it summarises the drive as Good, Caution or Bad while also listing the raw attributes. Download it from the developer’s official site; third-party mirrors sometimes bundle adware.
- Manufacturer tools: Samsung Magician, Crucial Storage Executive and equivalents from WD and Kingston read health data and also install firmware updates, which occasionally fix real reliability bugs.
Reading drive health on a Mac
Disk Utility’s First Aid checks the file system, the structure that organises your files. It is worth running when files behave strangely, but a clean result says nothing about hardware wear.
For the hardware status, hold the Option key, open the Apple menu and choose System Information. Under Hardware, select NVMExpress (or SATA on older Macs) and look for the S.M.A.R.T. status line, which reads “Verified” or “Failing”. It is a coarse pass/fail with no detail. For the full numbers, install smartmontools through Homebrew and run smartctl -a disk0.
On Apple silicon Macs the SSD is soldered to the board, so a failed drive means a board-level repair, often expensive outside major cities. That makes a current Time Machine backup more important, not less.
Using smartctl to read drive health on Linux
Linux users get the most detailed view through smartmontools, the free project behind the smartctl command. Install it with sudo apt install smartmontools on Ubuntu or Debian, or sudo dnf install smartmontools on Fedora. Run lsblk to find your drive’s name, then:
- sudo smartctl -a /dev/nvme0 for an NVMe drive, or sudo smartctl -a /dev/sda for a SATA drive.
- Check the overall self-assessment line (PASSED or FAILED), then Critical Warning, Percentage Used, Available Spare and Media and Data Integrity Errors on NVMe, or the reallocated and pending sector rows on SATA.
- On a drive that looks healthy, sudo smartctl -t short /dev/sda runs a brief self-test; read the result later with the same -a command.
If you prefer a graphical tool, GNOME Disks shows SMART data from the drive’s menu.
Warning signs that show up before the numbers do
Sometimes the drive misbehaves before SMART reports anything. Take these seriously:
- Sudden slowdowns when copying or opening files. First rule out a nearly full drive, since SSDs slow down noticeably with little free space; clearing space on Windows 11 may fix it outright.
- Files that refuse to open or come back corrupted, especially photos and documents that worked last month.
- Freezing during saves or installs, where the whole system hangs for several seconds while writing.
- The drive disappearing from the BIOS or boot menu, even intermittently.
- Clicking or grinding from a hard drive.
Frequent power cuts and voltage swings add risk, because losing power mid-write can corrupt data. A UPS for a desktop is a sensible investment where outages are routine.
What to do when a drive reports trouble
The order matters. Back up first, starting with the files you cannot replace, rather than cloning the whole drive. Then replace the drive. Do not run repeated full surface scans, benchmarks or “repair” utilities on a failing drive: every heavy read adds stress and can turn a struggling drive into a dead one.
If Windows will not start, a USB rescue kit prepared in advance lets you boot the machine and copy files to an external drive. Once you have a replacement, set up automatic File History backups so the next failure costs you nothing. Check the warranty too: many SSDs are covered for a set number of years or a written-data limit, and claims usually go through the local distributor rather than the brand directly.
One honest limit: SSDs often fail suddenly, usually when the controller chip dies, with a perfectly clean SMART report the day before. A health check is an early warning that sometimes works, not insurance. The only real protection is a copy of your important files that lives somewhere other than the drive itself.