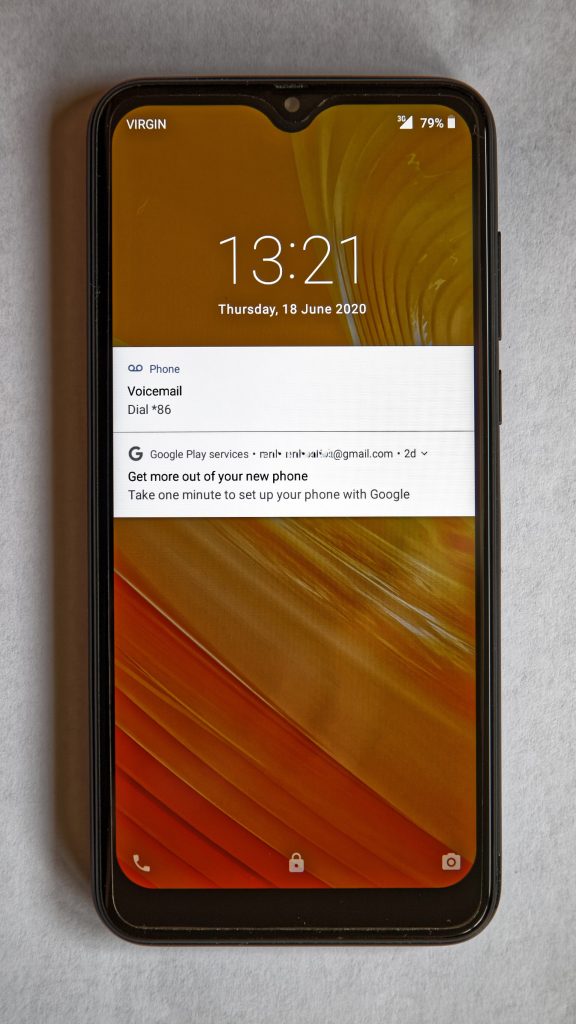
The worst time to discover that your account recovery details are out of date is the moment you need them: a phone lost on a bus, a laptop stolen from a café, a password changed by someone who is not you. The account recovery settings that decide whether you get back in are usually set once, years ago, and never revisited. Fifteen minutes now buys you a way back later.
Why the login you use every day is not the one that saves you
Every major provider treats recovery as a separate system from login. It relies on a small set of signals: a backup email address, a verified phone number, a trusted device that has signed in recently, and often recovery codes you were told to save. Providers deliberately make this information hard to change without proof of ownership, which is exactly why stale details are so damaging. An old phone number you no longer own is worse than no number at all — someone else may now receive your reset code.
So the first job is not adding anything. It is removing what no longer belongs to you.
Audit the account recovery email and phone number
Open the account’s security page — Google calls it Security, Microsoft calls it Security info, Apple calls it Sign-In & Security — and look at what is listed. Delete anything you cannot access today. That includes the university address you lost access to after graduating, the number of a SIM you cancelled, and the second-hand phone number that came with a recycled SIM.
Add a recovery email on a different provider from the main account. If your primary mail is a work address, use a personal one; if it is personal, use a second personal account. The point is that one compromise or one employer offboarding should not take both down at once. Verify the new address immediately — most providers send a confirmation link and quietly ignore the entry until you click it.
Store backup codes somewhere that is not the account
Two-factor backup codes are the single most useful thing in any account recovery plan, and they are also the most commonly lost. They usually arrive as a text file or a printed list of ten short codes, each usable once. Keep a copy off the account itself: a printed page in a folder with your passport, or a note in a password manager’s secure store that syncs to a device other than the phone.
If you already have codes saved, check whether any have been used up. Providers rarely tell you how many remain, so a fresh regeneration once a year is a reasonable habit. Our guide to storing backup codes for two-factor authentication goes through the filing options, including the paper method that survives a dead phone.
Review sessions and connected devices
Every provider lists devices that are currently signed in. Read that list the way you would read a bank statement. Anything you do not recognise, sign out — and if a session is on a device you no longer own, sign it out and change the password from a device you do own.
While you are in the list, check whether your main phone is marked as a trusted device for sign-in prompts. If a provider pushes an “approve this login” prompt to a phone, losing that phone can lock you out of your own account even with the right password. That is why a second factor that does not depend on the phone — a hardware key or the backup codes — matters more than it sounds.
Use recovery contacts and trusted devices where they exist
Apple lets you nominate a recovery contact who can generate a code for you, and Google can use a trusted device or a security key as proof. These options are worth enabling because they route around the exact failure everyone hits: the phone with the authenticator app is gone, and so is the number the codes go to.
If you are setting up two-factor authentication for the first time, our walkthrough on setting up two-factor authentication covers which second factor to choose for each situation. The short version: an authenticator app plus printed backup codes, and a hardware key for the accounts that would hurt most to lose.
Close the SIM-swap door
Most account takeovers that start with a phone call begin at the carrier, not at the account. A support agent is persuaded to move your number to a new SIM, and every SMS code then arrives at the attacker’s handset. A carrier account PIN or port-out lock makes that social-engineering script much harder to run, and it belongs in the same account recovery review as your backup email. Our guide to SIM-swap protection explains what to ask your carrier for.
The same logic applies to email: if your recovery email account has weaker protection than your main one, an attacker will simply go for the weaker door. Protect the recovery address with the same care as the account it rescues.
Test the recovery path once a year
You do not need to trigger a real reset. Just confirm three things: the recovery email receives a test message from the provider, the phone number on file is one you control, and the backup codes are where you think they are. Google’s own set up recovery options page is a practical checklist for the first two.
Set a calendar reminder for the same month each year. Account recovery is one of the few settings where maintenance is trivial and neglect is expensive — a dated reminder is the cheapest insurance you can buy for an account you would hate to lose, and it is the last piece of a working account recovery setup.