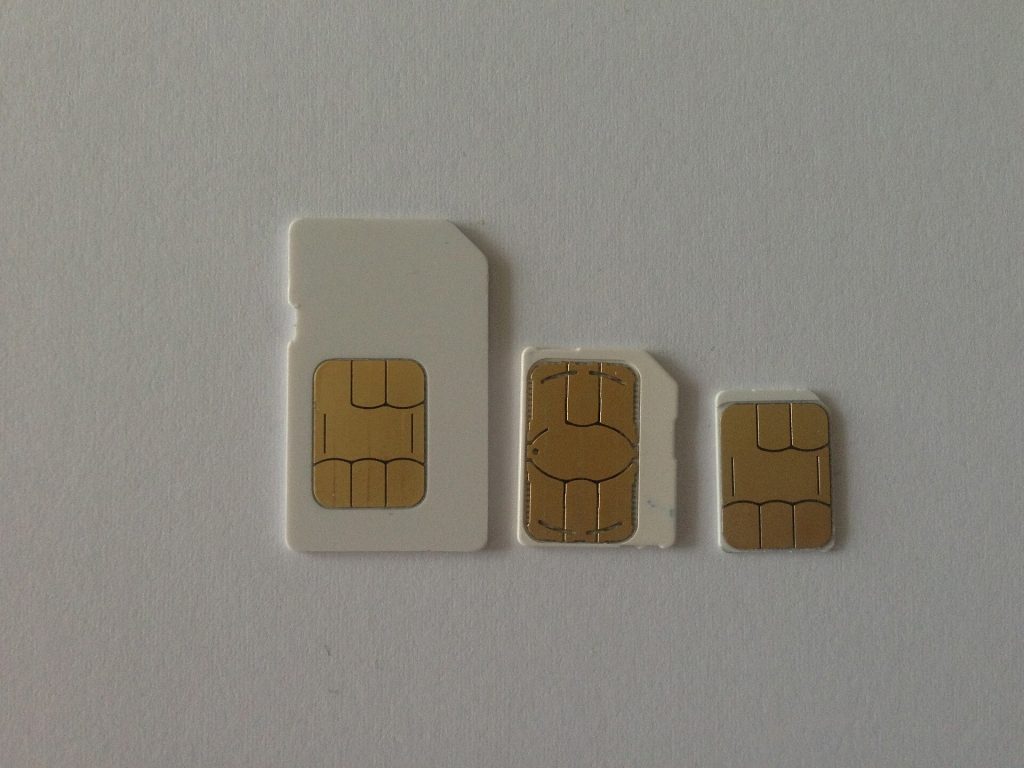
A physical SIM card fails at the airport in a predictable way: you land, you queue at a kiosk, you pay a markup, and you spend your first hour abroad swapping plastic slivers in a taxi. An eSIM for travel removes that entire sequence — but only if you install it at home, on your own Wi-Fi, while you still have a working connection to fall back on. Here is the order that actually works.
Check the phone supports eSIM before you buy anything
Dial *#06# on the handset. If an EID number appears below the IMEI lines, the phone has an embedded SIM chip and can hold an eSIM profile. If only IMEI numbers show, it cannot — no amount of app installing will add one, and no eSIM for travel will work on it.
Two caveats catch people out. Phones sold in some regions ship without the eSIM radio even when the same model name supports it elsewhere, and a carrier-locked handset may accept the chip but refuse a competitor’s plan. Check the lock status in the phone’s settings before you pay for a travel plan: on iPhone it is under Settings > General > About, on Android it varies by manufacturer but usually sits near the SIM status screen.
Buy the eSIM for travel at home, install it the same day
Most eSIM sellers email a QR code or push the profile straight into an app. Do the install before you pack. Activation is a separate step from installation for most travel plans: installing writes the profile to the phone, while activation starts the clock on your data allowance. Read the plan’s wording to see which one happens when.
- QR code by email — scan it with the phone you intend to use, from the screen of another device. The code is usually single-use; a second scan may fail with an “already installed” message.
- App-based install — simpler, and it stores the plan in your account so a reinstall is possible if you wipe the phone.
- Airtime plans — some carriers let you convert an existing physical line to eSIM in their own app, which is the neatest option if your home carrier offers cheap roaming.
Do not delete the profile after installing. Some carriers charge or refuse to reissue a deleted eSIM, and a deleted profile cannot be recovered from the phone.
Name the lines so you tap the right one
Once two lines are active, every call and message screen asks which one to use, and “Primary” and “Secondary” are useless labels at 6 a.m. in a terminal. Rename them: “Home — Airtel” and “Travel — Japan data” takes ten seconds in Settings > Cellular (iPhone) or Settings > Network > SIMs (Android).
Set the travel line as the default for mobile data, and the home line as the default for calls and messages. That combination keeps your bank’s one-time passwords arriving on the number they are registered to, while maps and messaging run on the cheaper local allowance.
Turn off data roaming on your home line
This is the step that prevents a bill you will spend an hour on the phone arguing about. With the travel eSIM holding the data default, the home line should still have data roaming switched off completely. Otherwise a dropped eSIM signal can hand data back to your home carrier at international rates without any prompt.
While you are there, disable “allow mobile data switching” or “data switching” if your phone offers it. That feature is designed to hop between lines when one signal weakens — helpful at home, expensive abroad.
What goes wrong at the airport, and the fix
The plan will not activate on arrival. Turn the travel line off and on again, then toggle airplane mode for thirty seconds. Networks attach more reliably after a fresh scan than during the first optimistic registration. This is the single most common eSIM for travel complaint, and it is almost always solved before you leave the airport.
No data but calls work. The APN field is usually the culprit. Travel eSIMs normally set it automatically; if not, the seller’s activation email lists the exact APN name, and it goes in under the travel line’s settings, not the phone’s general network menu.
The QR code expired. Most codes have a validity window measured in days from purchase. Contact the seller for a reissue rather than buying a second plan at the airport.
The phone shows “no SIM” after a software update. Reboot once, then check the profile is still listed. Updates occasionally reorder SIM slots, which also resets your default line choices — worth a look before you assume the plan died.
Before you leave: the four-line check
Profile installed but not yet activated, travel line set for data, home line roaming off, home line still set for calls and messages. That is the whole eSIM for travel setup, and it takes less time than queuing at a kiosk. Our phone travel checklist covers the rest of the pre-flight list, including offline maps and charger compatibility.
Two smaller habits save real money. Download maps and translation packs while you are still on home Wi-Fi, because a travel eSIM with a 5 GB allowance disappears quickly if it is also pulling map tiles. And if you plan to work from a laptop, read using your phone as a hotspot without burning data first — tethering can be excluded from travel plans even when normal browsing is included.
Wikipedia’s eSIM overview is a reasonable technical primer if you want to understand what the profile actually is before trusting a seller with your payment. Between that and the four checks above, the airport kiosk stops being part of your trip.