Two months after you buy a 400-taka stainless knife from the bazaar, it skids off a tomato and squashes it instead of slicing. Most people decide the knife was junk. Usually it wasn’t. Cheap steel loses its edge fastest because of how it is washed, stored and used. If you want to keep kitchen knives sharp on a small budget, stop the damage first, then learn two separate jobs: honing and sharpening.
What actually dulls a kitchen knife edge
A sharp edge is a strip of steel thinner than a hair, and anything harder than that steel bends or chips it: glass cutting boards, ceramic plates, granite worktops. Each stroke rolls the edge over a little. You cannot keep kitchen knives sharp on a glass board, full stop.
The dishwasher is the second culprit. Detergent is strongly alkaline, the cycle is hot, and the knife rattles against forks for an hour. Drawer storage does similar harm more slowly, as the edge knocks against spoons every time the drawer opens.
Swap to a wooden or polyethylene board, wash knives by hand and dry them straight away. When you scrape chopped onion across the board, turn the blade over and use the spine. A knife that lasts ten years belongs with the other kitchen habits that quietly save money every week.
Honing versus sharpening, and the 15 or 20 degree question
Honing realigns an edge that has rolled sideways. Sharpening removes metal to build a new edge. A grooved steel rod only pushes the edge back upright. A ceramic rod also removes a trace of metal, so it suits cheap knives better. Hold either at roughly the sharpening angle and do five or six light, alternating strokes per side. Regular honing is the cheapest way to keep kitchen knives sharp between stone sessions.
Most Western-style stainless knives are ground at around 20 degrees per side, while many Japanese-style blades sit closer to 15. A 15-degree edge cuts more easily but rolls sooner on soft steel. For a budget knife, 20 degrees is the sensible choice unless the maker’s documentation says otherwise. The overview of knife sharpening, grit and bevel angles on Wikipedia explains the geometry. To find your existing angle, colour the bevel with a permanent marker, make one stroke, and see where the ink came off.
Sharpeners that ruin knives, said plainly
The pull-through carbide sharpener is the worst offender. Its two tungsten carbide blades form a V that scrapes metal off rather than grinding it. The result is a ragged, torn edge that feels sharp for a day or two and then collapses. It also eats steel and often wears a dip near the heel. No pull-through gadget will keep kitchen knives sharp for long.
Coarse electric grinders can overheat and soften a thin edge, and a concrete step or brick leaves it chipped. Glass boards, dishwashers and carbide pull-throughs all damage knives. Avoid all three.
A whetstone routine to keep kitchen knives sharp
A two-sided whetstone costing 300 to 600 BDT is the realistic minimum. Look for a combination stone such as 400/1000 or 1000/3000 grit. If the label says it is a soaking stone, leave it in water for 10 to 15 minutes until the bubbles stop. Set it on a damp towel so it cannot slide.
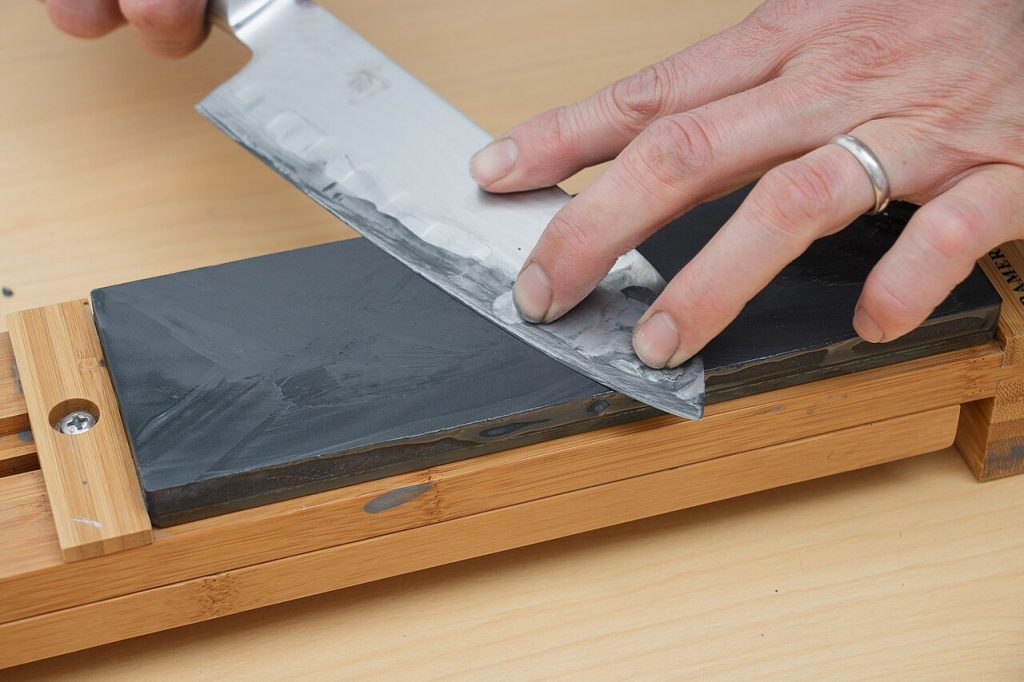
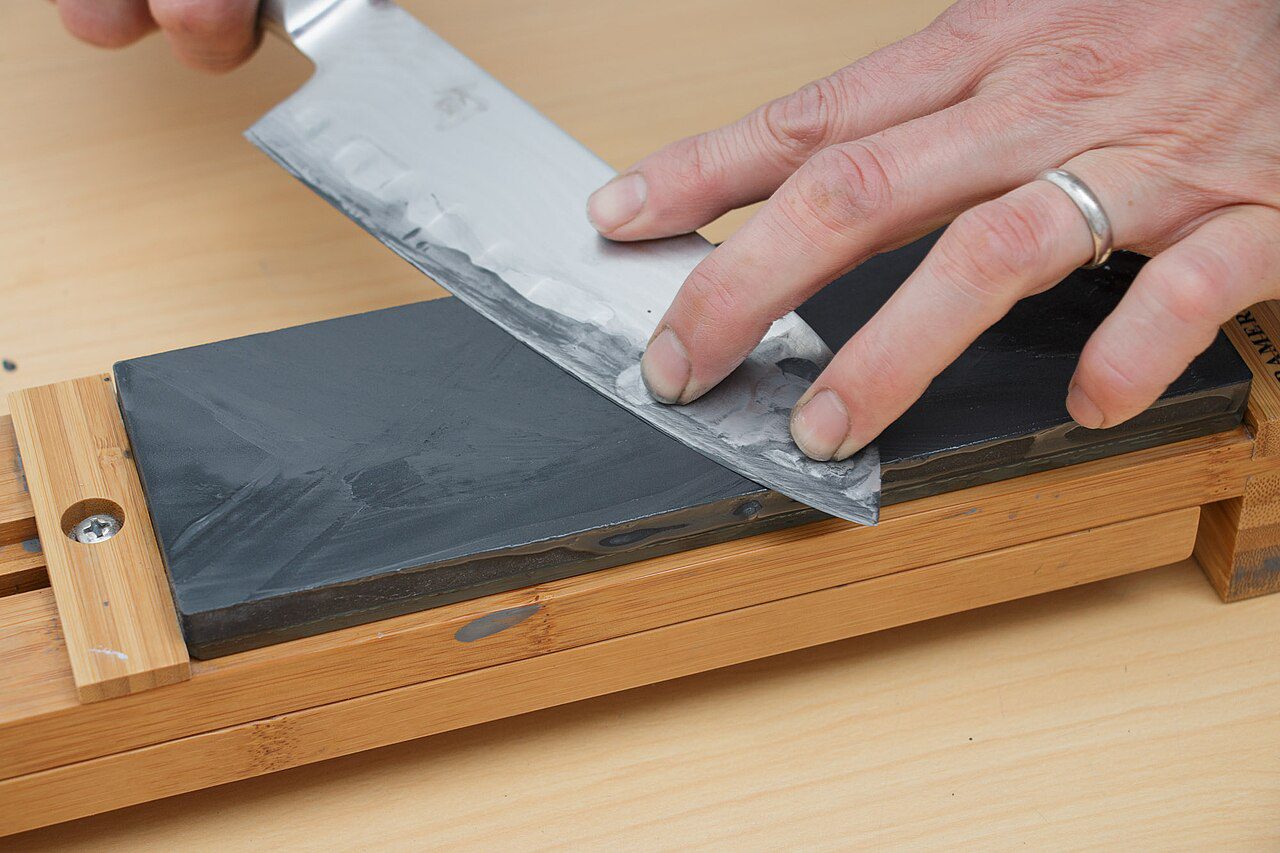
Start on the coarse side at your chosen angle. Push the blade edge-first from heel to tip with light, even pressure, and work one side only. After 15 to 30 strokes, draw your thumb gently away from the edge on the other side, never along it, feeling for the burr: a thin, rough lip of metal. Do not flip until you can feel it from heel to tip. Then sharpen the second side until the burr moves back.
Move to the 1000-grit side and repeat with fewer, lighter strokes. Finish with alternating single strokes, then draw the edge through a wine cork to strip the last of the burr.
Budget alternatives: sandpaper and a mug
Wet-and-dry silicon carbide sandpaper in 400, 1000 and 2000 grit costs very little at hardware shops. Lay it on a flat tile or glass pane, wet it and use the same burr sequence. For a quick fix, turn a ceramic mug over and use the rough, unglazed ring on its base as a fine stone. Five or six alternating strokes per side will get you through dinner.
Testing sharpness and how often to do each job
Hold a sheet of printer paper by one corner and slice down through it. If it snags or tears at one spot, that section is still dull. Then try a ripe tomato: the blade should break the skin with a light pull and no pressing. A sharp knife also stops bruising coriander and mint, which matters as much as storing fresh herbs and salad greens so they last.
On cheap stainless, hone two or three times a week. Use the whetstone or sandpaper every two to three months, and keep the mug trick for emergencies. Put stone sessions in the same monthly slot as descaling an electric kettle with citric acid so neither gets forgotten. Between sessions, store knives on a magnetic strip, in a block or under a plastic edge guard.
Start tonight with the knife that squashed the tomato. Colour its bevel with a marker and make ten strokes on the coarse side at 20 degrees. Only flip it once you can feel a burr all the way along the far side.